Administration / Links
Links can be added to a dashboards to enable users to easily open Alerts, Dashboard, Data Browser window, Data\Budget Entry window, Saved Reports/Screen without having to login to a dataset.
Create Links
Link Details
-
Click

The below popup will appear
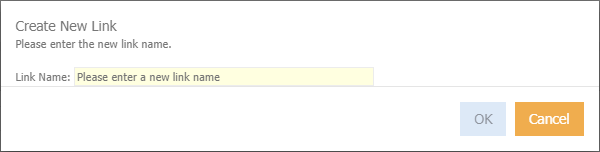
-
Enter a link name, that describes the Link being created.
-
Click Ok
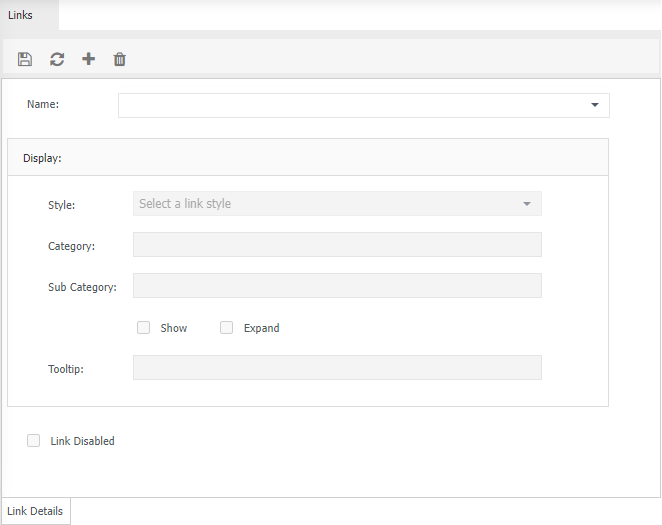
The 'Link Details' display
-
Style - select which group the Links relates to. At the bottom of the screen select the relevant options:
Alerts - select the relevant alert from the list.
Attachment - add an attachment.
Dashboard - select the relevant dashboard from the list.
Data Browser - select the relevant dataset and data browser from the list.
Data Entry - refers to budget entry. if you have chosen Data Entry in the Style drop down menu, select the revevant Budget Name from the drop down menu
Reports - select the relevant data set and report saved report from the list.
Screen - select the relevant dataset and screen from the list.
-
Category - either enter a name to group the Links to or chose an existing Category from the drop down menu.
-
Sub category - either enter a name to group the Links into a sub grouping or chose an existing Sub Category from the drop down menu.
-
Show - tick to show the Sub Category.
-
Expand - tick if you want the Sub Category to be expanded to the Links.
-
Tooltip - Enter to for the tooltip. The tooltip appears when hovering over a Links.
-
Link Disabled - tick if you do not want to delete the Links and rather disable it.
-
Click
 to save.
Data Entry Tab
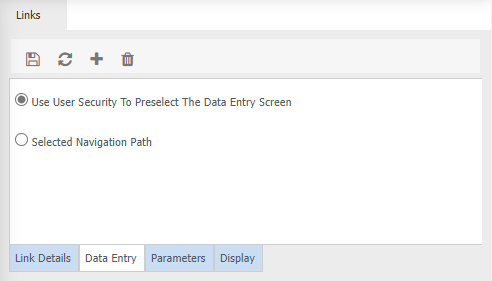
Information will only be displayed if 'Data Entry' is selected from the 'Style' drop down.
-
Use User Security to Preselect The Data Entry Screen - Tick if you want the user to only able able to see if the Data Entry windows based on their user Security
-
Selected Navigation Path - tick if you want certain navigation layers to be loaded when the link is selected. For example:

Ensure something is selected for all navigation layers.
Parameters tab
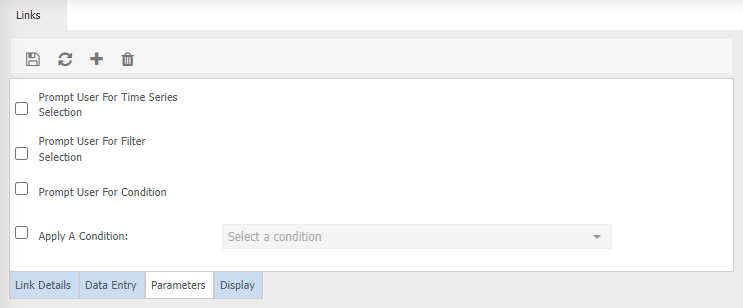
-
Prompt user for Time Series Selection - tick if you want the user to be prompted to select a time series prior to running the links.
-
Prompt user for Filter Selection - tick if you want the user to be prompted to select a filter prior to running the links.
Ensure that you tick the relevant filter layer to be shown in the visible column. For example: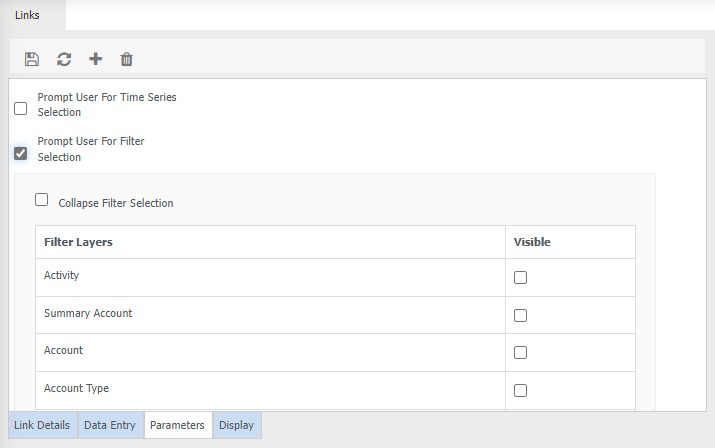
If no filters are listed, this is due to duplicate layers.
Collapse Filter Selection - tick if you want the filter tree to be collapsed.
-
Prompt user for Condition - tick if you want the user to be prompted to select a condition prior to running the links.
-
Apply a Condition - tick if you want a condition to be applied automatically when running the links. Ensure that you select a relevant condition from te drop down menu.
Display tab
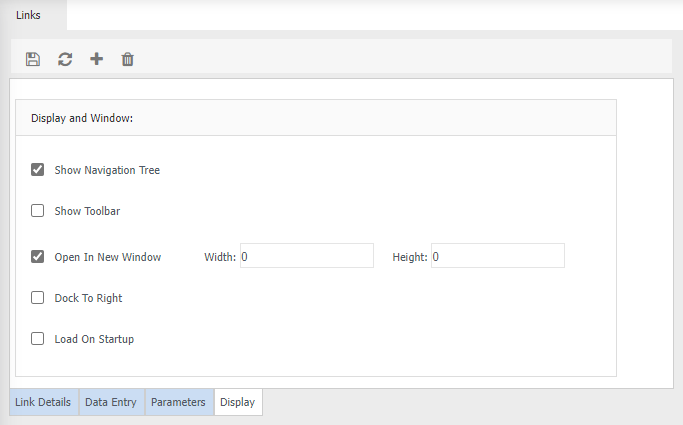
-
Show navigation Tree - tick to view the navigation tree when the link is opened (not available if 'reports' is selected from the style drop down on the 'link details' tab)
-
Show Toolbar - tick to view the toolbar when the link is opened (not available if 'reports' is selected from the style drop down menu on the 'link details' tab)
-
Open in New Window - tick if you want to open the link in a separate window. You can change the width and height, if necessary.
-
Dock to Right -
-
Load on Startup -
Link Maintenance
- Select a link from the 'Name' drop down menu
- Details will automatically load
- Make any relevant changes
- Click to save
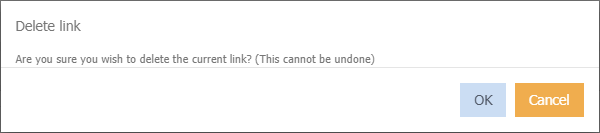
Delete Links
- Select the Link from the Link Name field
- Click

-
Click Ok on the below message